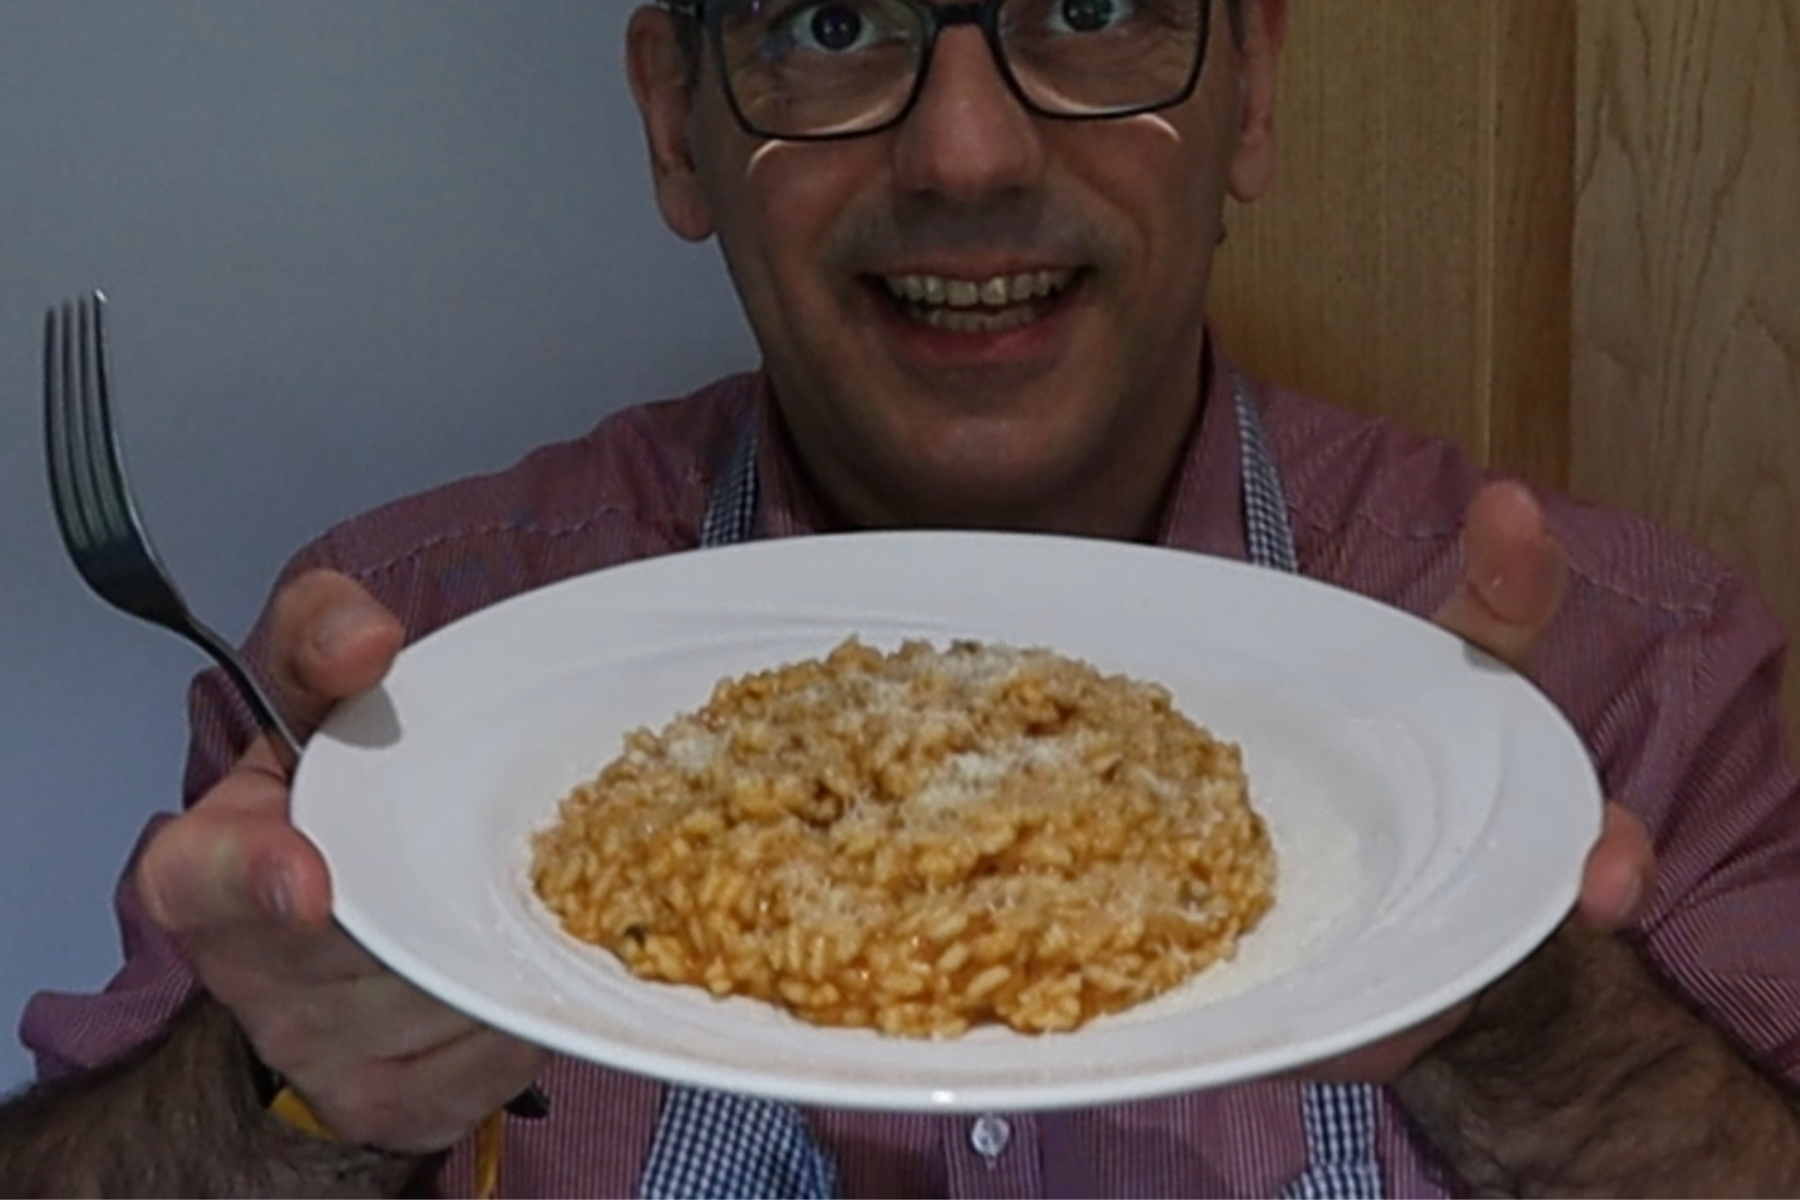
A creamy and comforting Italian tomato risotto made with Carnaroli rice, rich tomato sauce, and Grana Padano cheese. This simple homemade dish is perfect for using leftover tomato sauce while creating a rich and velvety risotto full of authentic Italian flavour.
Servings
2 people
Prep Time
20 minutes
Difficulty
Easy
Ingredients
- 20 g butter
- Dash of olive oil
- ½ onion
- 220 g Carnaroli rice (or Arborio / Vialone Nano)
- 400 g tomato sauce or chopped tomatoes
- Fresh basil
- 500–600 ml vegetable stock
- 20 g Grana Padano cheese
- Salt & black pepper
Equipment you’ll need
- Pot for risotto
- Pot for vegetable stock
- Wooden spoon
- Sieve
- Ladle
- Cheese grater
👉 Kitchen tools I use:
www.saporidicasasaulle.com/kitchen-tools/
Method
- Prepare approximately 500–600 ml of warm vegetable stock and keep it simmering gently.
- In a large pot melt the butter with a dash of olive oil to prevent the butter from burning.
- Add the chopped onion and cook until soft and golden.
- Add the rice and toast it gently for 1–2 minutes until slightly translucent.
- Add the tomato sauce or chopped tomatoes and stir well.
- Gradually add the hot vegetable stock one ladle at a time, stirring gently and allowing the liquid to absorb before adding more.
- Continue cooking for approximately 10–12 minutes until the rice is creamy and cooked al dente.
- Turn off the heat and add a knob of butter together with the Grana Padano cheese.
- Stir vigorously until the risotto becomes creamy and glossy.
- Finish with fresh basil and extra cheese if desired.
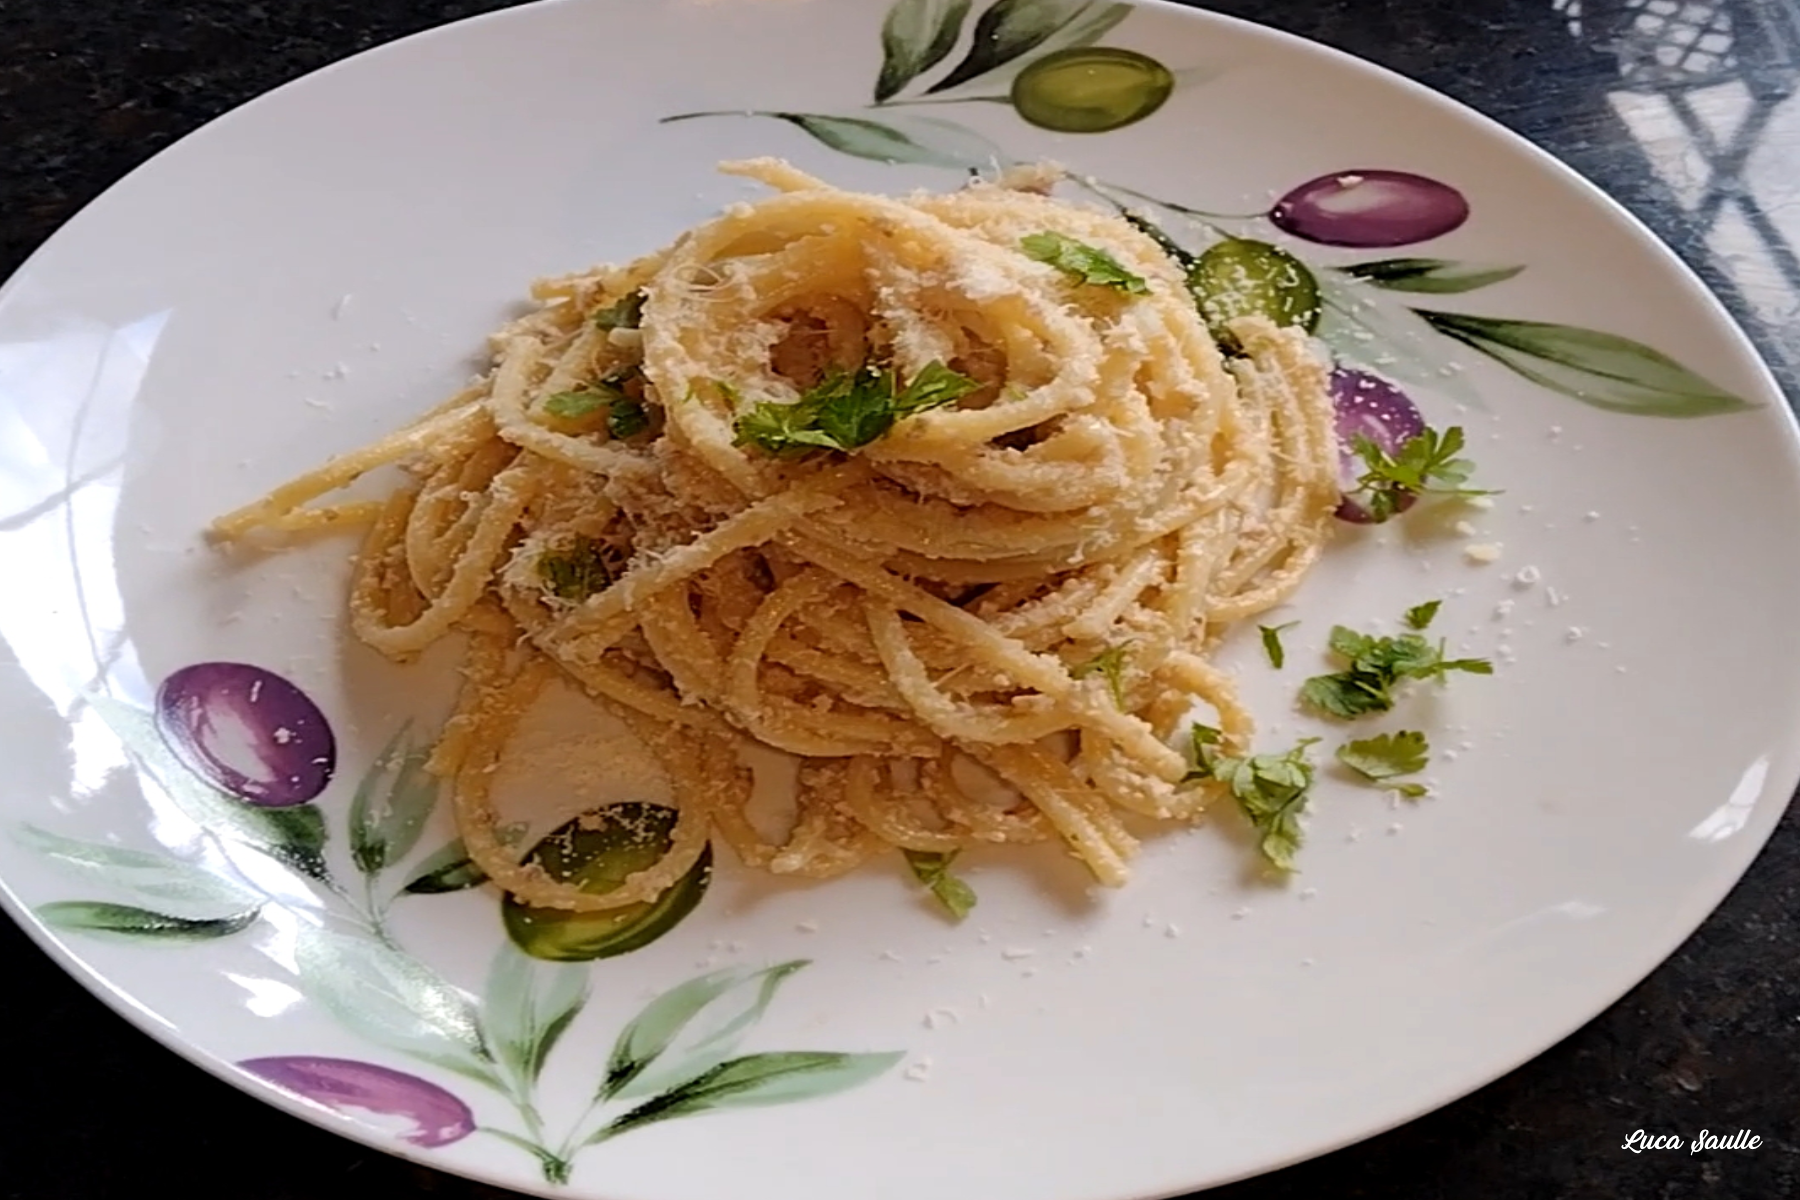
For this recipe I used a non-stick pan, which helps prevent sticking and gives a smooth sauce.

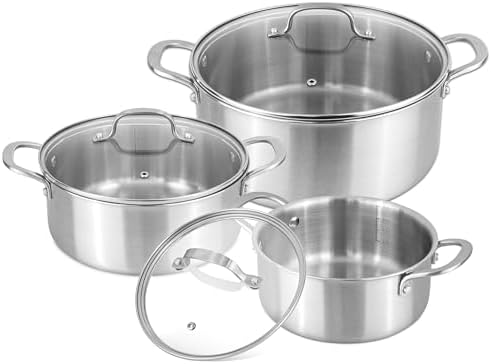
- VERSATILE COOKING: With 16cm, 18cm, and 20cm saucepans, it has got you covered for any recipe! Whether you’re whipping u…
- NUTRIENT RICH MEALS: Each pan comes with a tempered glass lid and each have a steam vent that help lock in flavours whil…
- SUITABLE FOR ALL HOB TYPES: Whether you’re using a traditional gas stove or modern induction hob, there is no need to wo…
Tips
Stir gently using a wooden spoon to avoid breaking the rice grains
Keep the stock warm while cooking the risotto
Use homemade or leftover tomato sauce for deeper flavour
Variation
Use leftover Bolognese sauce for a richer risotto
Swap Carnaroli for Arborio or Vialone Nano rice
Add chilli flakes for a spicy version
Storage
Store refrigerated for up to 1 day. Reheat gently with a splash of water or stock.